
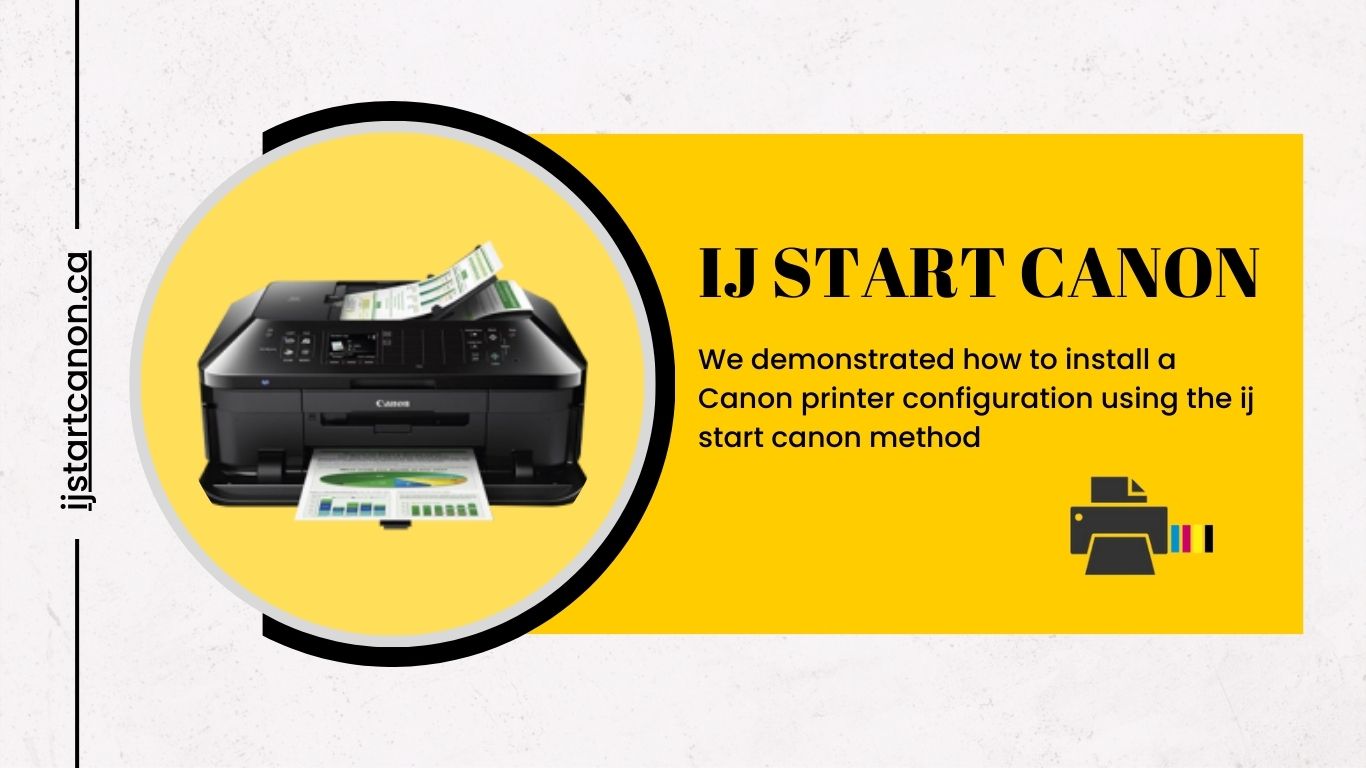
Installing a Canon printer driver with ij.start.canon is a straightforward process that can be done in a few simple steps. First, make sure you have a stable internet connection and that your printer is turned on and connected to your computer.
To begin, open a web browser and go to ijstartcanon. This is the official Canon website where you can find and download the necessary drivers for your specific printer model. On the homepage, you will see a search bar.
Type in the model number of your Canon printer and click on the search icon. This will redirect you to the support page for your printer model. Here, you will see a list of available drivers and software.
Scroll down until you find the driver that is compatible with your operating system. Click on the Download button next to it. The driver will start downloading to your computer.
Once the download is complete, locate the downloaded file and double-click on it to begin the installation process. Follow the on-screen instructions and agree to any terms and conditions that may be presented.
During the installation process, you may be prompted to connect your printer to your computer using a USB cable. Make sure to do this and ensure that the printer is recognized by your computer.
After the installation is complete, you may be prompted to restart your computer. If so, go ahead and restart it.
Once your computer has restarted, your Canon printer driver should be successfully installed. You can now begin using your printer with your computer.
In conclusion, installing a Canon printer driver with ij.start.canon is a simple process that involves downloading the driver from the official Canon website and following the on-screen instructions. By following these steps, you can ensure that your printer is properly connected to your computer and ready for use.