
Mistakes of paver installation
Paver installation, while a rewarding endeavor, can be fraught with potential pitfalls that compromise the longevity and visual appeal of the finished project. One common mistake is inadequate site preparation, where insufficient base compaction leads to settling and uneven surfaces over time. Poorly planned drainage is another misstep, as inadequate water runoff management can result in pooling and erosion, affecting both the stability of the pavers and the surrounding landscape. Neglecting edge restraints, such as insufficiently securing the outer pavers, can cause shifting and spreading over time, diminishing the structural integrity of the installation. Improper joint sand application is a frequent error, as the failure to adequately fill and seal joints leaves pavers susceptible to weed growth, erosion, and shifting. Rushed or haphazard cutting of pavers to fit irregular spaces can lead to uneven lines and an unprofessional finish. Lastly, neglecting to seal the pavers after installation can expose them to stains, colour fading, and the deteriorating effects of weather conditions. Avoiding these common mistakes is essential for ensuring a durable, visually pleasing, and long-lasting paver installation.
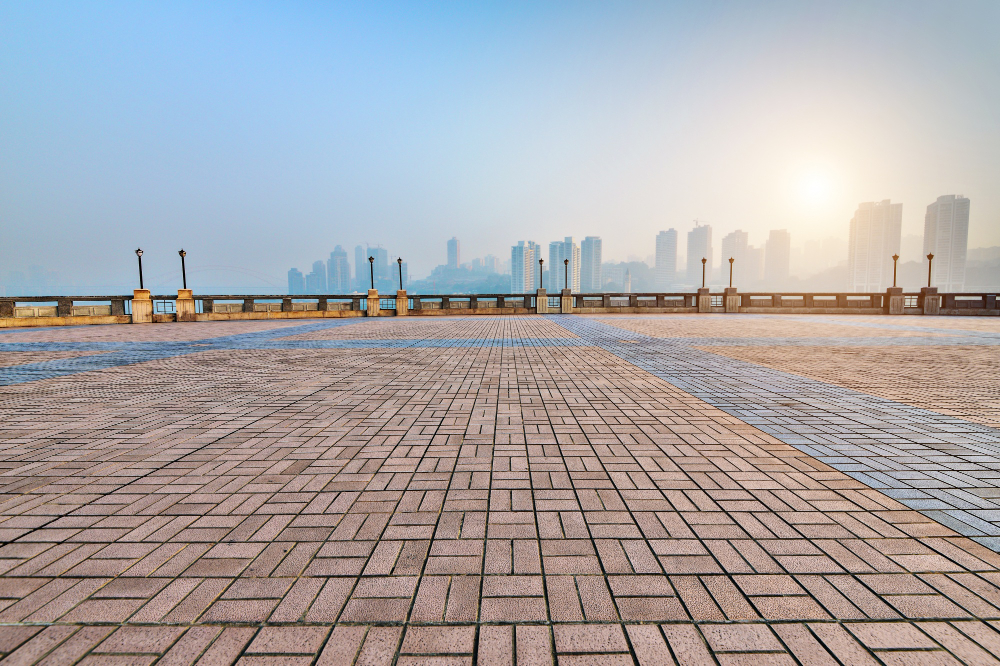
Paver Installation Dos and Don’ts: Common Mistakes to Avoid
Paver installation is a transformative process that enhances outdoor spaces with elegance and functionality. However, certain common mistakes can compromise the integrity and longevity of the installation. In this comprehensive guide, we explore the dos and don’ts of paver installation, shedding light on essential practices and cautionary measures to ensure a successful and enduring outcome.
Dos:
- Proper Site Preparation:
- Do: Begin with thorough site preparation. Excavate the area to the required depth, ensuring removal of all organic material. Compaction of the base is crucial to prevent settling over time.
- Why: Adequate site preparation provides a stable foundation, reducing the risk of uneven surfaces and settling, and ensures a durable and long-lasting paver installation.
- Adequate Base Material:
- Do: Use the appropriate base material, such as crushed stone or aggregate. The depth of the base should align with the intended use of the paver surface.
- Why: The right base material promotes proper drainage, stability, and load-bearing capacity, essential for sustaining the weight of the pavers and the traffic they may endure.
- Thoughtful Drainage Planning:
- Do: Plan for effective drainage by incorporating slopes away from structures and providing suitable drainage channels.
- Why: Proper drainage prevents water accumulation, which can undermine the stability of the pavers and lead to erosion, ensuring the longevity of the installation.
- Quality Edge Restraints:
- Do: Install sturdy edge restraints along the perimeter of the paver area. Secure the outer pavers to prevent spreading and shifting over time.
- Why: Edge restraints help maintain the structural integrity of the installation, preventing pavers from shifting, spreading, or sinking at the edges.
- Correct Joint Sand Application:
- Do: Apply joint sand correctly after laying the pavers. Ensure that joints are adequately filled and compacted, and consider using polymeric sand for enhanced stability.
- Why: Proper joint sand application stabilises the pavers, discourages weed growth, and prevents erosion, contributing to a durable and aesthetically pleasing surface.
- Precise Cutting for Irregular Spaces:
- Do: Take the time to make precise cuts when fitting pavers into irregular spaces or along edges. Use appropriate tools to ensure clean lines.
- Why: Accurate cutting results in a professional finish, eliminating uneven lines and creating a visually appealing overall appearance for the paver installation.
- Timely Sealing:
- Do: Seal the pavers after installation. Use a quality sealer to protect the pavers from stains, color fading, and the adverse effects of weather conditions.
- Why: Sealing enhances the longevity of the paver surface, preserving its appearance and protecting it from environmental factors.
Don’ts:
- Neglecting Site Preparation:
- Don’t: Skip or rush through site preparation. Inadequate excavation and compaction can lead to settling, uneven surfaces, and compromised stability.
- Why Not: Neglecting proper site preparation undermines the foundation of the installation, resulting in structural issues that can manifest over time.
- Using Incorrect Base Material:
- Don’t: Use the wrong base material or neglect to provide sufficient depth. Inadequate support compromises load-bearing capacity and drainage.
- Why Not: Incorrect base material can lead to poor drainage, instability, and eventually, the failure of the paver installation.
- Overlooking Drainage Planning:
- Don’t: Overlook the importance of drainage planning. Inadequate slopes and drainage channels can lead to water pooling and erosion.
- Why Not: Poor drainage contributes to water-related issues, including erosion, undermining the stability of the pavers and compromising the installation’s longevity.
- Neglecting Edge Restraints:
- Don’t: Neglect to install or secure edge restraints. Failing to provide proper edge support can result in paver spreading, shifting, or sinking at the edges.
- Why Not: Without adequate edge restraints, the structural integrity of the paver installation is compromised, leading to an uneven and unstable surface.
- Incorrect Joint Sand Application:
- Don’t: Neglect proper joint sand application. Inadequate filling or compaction can lead to weed growth, erosion, and diminished stability.
- Why Not: Insufficient joint sand compromises the integrity of the paver installation, resulting in weed infestations and uneven settling.
- Inaccurate Cutting for Irregular Spaces:
- Don’t: Cut pavers inaccurately or haphazardly. Poorly executed cuts can lead to uneven lines and a less professional finish.
- Why Not: Inaccurate cutting diminishes the visual appeal of the installation, creating an unprofessional look that detracts from the overall aesthetic.
- Delaying or Skipping Sealing:
- Don’t: Delay or skip the sealing process. Neglecting to seal the pavers leaves them vulnerable to stains, color fading, and weather-related damage.
- Why Not: Sealing is a protective measure crucial for maintaining the appearance and longevity of the paver installation, safeguarding it against environmental factors.
In conclusion, paver installation is a meticulous process that demands attention to detail and adherence to best practices. By avoiding common mistakes and following the dos and don’ts outlined above, homeowners and contractors can ensure the success of their paver projects. A well-executed paver installation not only enhances the visual appeal of outdoor spaces but also contributes to the longevity and functionality of the paved surface, creating a durable and aesthetically pleasing addition to any landscape.